DIY Twig Name Tag Flags from Scandinavian Gatherings
October 4, 2016
I am so, SO excited to share Scandinavian Gatherings today! Authored by Melissa Behan (otherwise known as Lulu the Baker in blog land) it is a beautiful book chocked full of recipes & crafts celebrating and embracing Scandinavian culture. The book is a stunning homage to Melissa’s love and fondness for her Scandinavian heritage. I felt right at home while reading even though most of the ideas were new to me. Melissa brings a familial warmth in her writing and I wanted to jump right in and share the traditions with my own family! And, I did!
One of my favorite chapters in the book is the Woodland Tea Party! Tea parties are kind of a big thing around here… lol, the girls loooovvvveeee them, so I knew I would tackle a recipe or craft from this chapter right away!
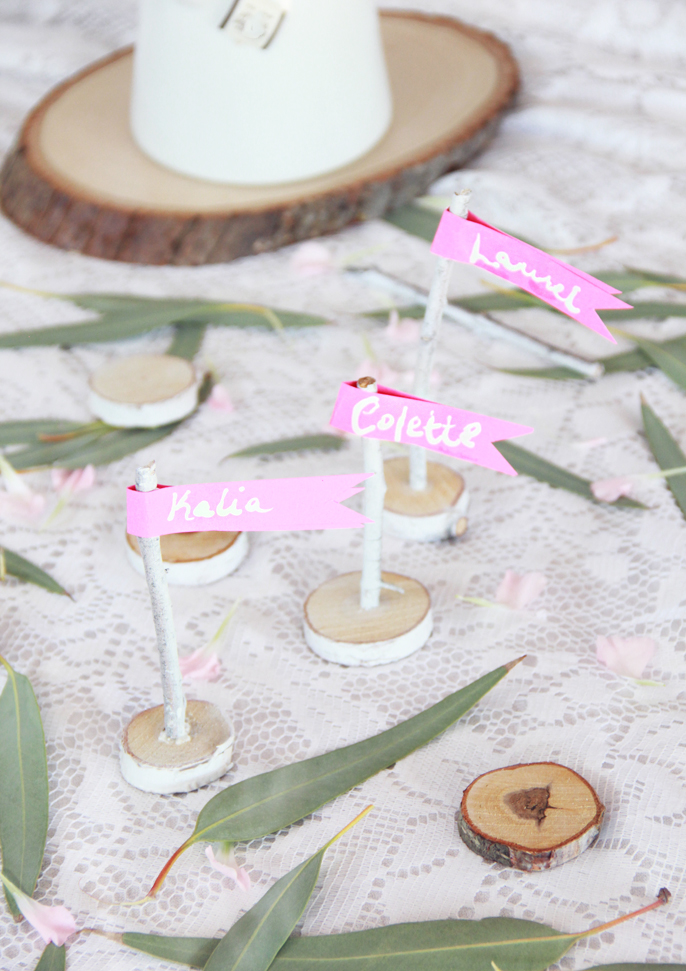
I chose the twig name tag flags to try at home. The steps were simple enough that the girls could do some of the glueing and cutting and I wanted to share the craft with them.
Photo by Charity Burggraa for Scandinavian Gatherings
The girls, however, insisted on pink flags, so we strayed a bit from the traditional Scandinavian look.
Melissa has generously provided the tutorial for you below! Thank you for sharing Melissa and thank you for helping me create new tea party traditions with my girls!!
Materials:
Red card stock (or in my case pink 😉
Scissors or paper trimmer
31⁄2-inch-long twigs, 1 per guest
Glue stick or double-sided tape
White fine-tipped gel pen
Thick slices of tree branches, about 1⁄4 inch thick and larger than
1 inch in diameter, 1 per guest
Nail
Hammer
Craft glue
1. Use the scissors or paper trimmer to cut the red card stock into long rectangles measuring about 3⁄4 by 4 inches (one strip per guest).
2. To make each flag, wrap one strip of the card stock around one end of a thin twig, lining up the edges exactly. Use glue or a piece of double-sided tape to a ach the card stock to itself.
3. Cut a triangle out of the free end of the card stock to give it a flag shape.
4. Write each guest’s name on a flag using the white gel pen. Allow the marker to dry completely.
5. While the marker is drying, make a hole in the center of each branch slice by using a hammer to pound a nail into the center almost all the way through the branch slice, then pulling it out.
6. Put a small dot of craft glue into each hole, then glue the twig flags into the holes. Allow them to dry.
Note: Tree branch slices are available from the wood hobby aisle of the craft store.
If you have a drill with a small-gauge drill bit, it will make holes in your branch slices much faster than a hammer and a nail. Just make sure you use a drill bit that is about the same size around as your twigs.