


I am so excited for this post for two reasons. One- I got to work with the amazing brand, Shutterfly, to create beautiful nursery decor. Two- these are the first glimpses of Colette’s nursery I have put on the blog. She is 7 months old, I am way behindddd with updating you!
For my inspiration I browsed Shutterfly’s baby announcements– Two of my favorites were the Hello talk bubble announcements and glitter gold frame announcement (glitter, gold & I? I am sure you are surprised… 😉
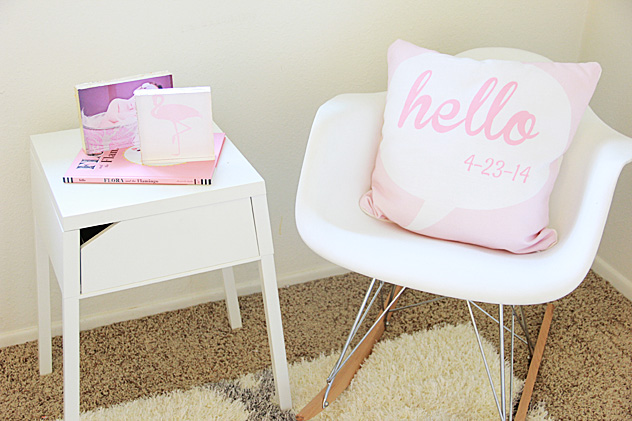
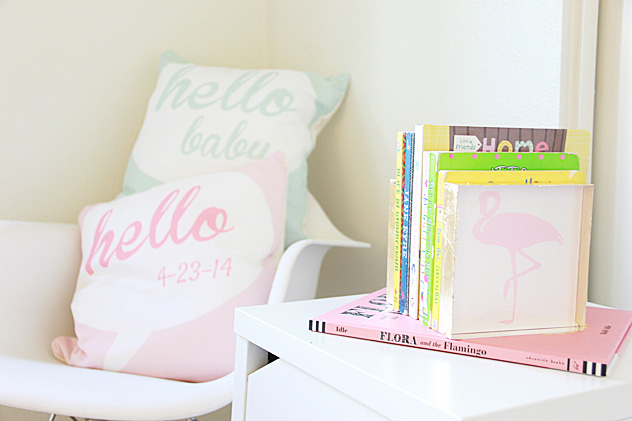
I did two versions of a Hello talk bubble pillow. A Hello Baby! pillow that would make a great gift anytime before or after baby is born. The second pillow is a Hello with the new baby’s date of birth and a very personalized after the baby is born gift!
![]()
How To Create Your Own Nursery Pillow on Shutterfly:
From the Pillows decor section, choose the photo gallery pillow (both my pillows are 16X16 dimension)
Upload the image you want (downloads here) and click Add to Cart. You will receive a warning that a text box or photo has been left empty, press Ignore and you can add to cart! I included both the pink and blue Hello Baby images and a .psd file if you are able to edit to write in your own date. If you cannot, feel free to email me!
Now onto glitter and gold! I loved the acrylic photo blocks and added a little color to the edges for a quickie diy.
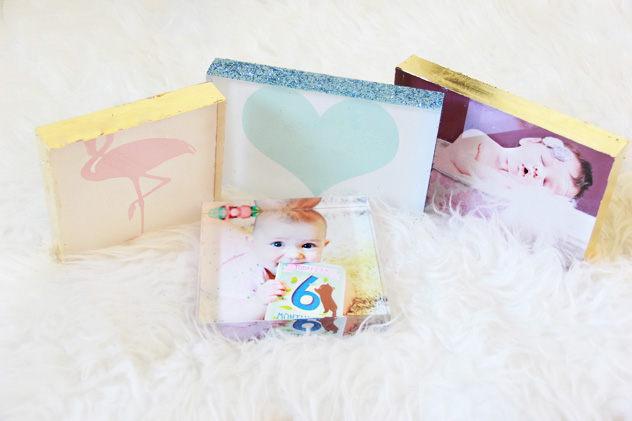
DIY Acrylic Frame Gold Leaf & Glitter
Gold Leaf Materials:
Gold Leaf adhesive
Gold leaf
Two Paint Brushes
Glitter Materials:
Mod Podge
Brush
Glitter
Clear Gloss Enamel Spray
The instructions are very similar:
To gold leaf the side of your acrylic frames, brush on gold leaf adhesive. Wait 20-30 minutes and then apply gold leaf sheet. Use the second brush (the one that did not touch the glue) to rub gold leaf down, as seen here:
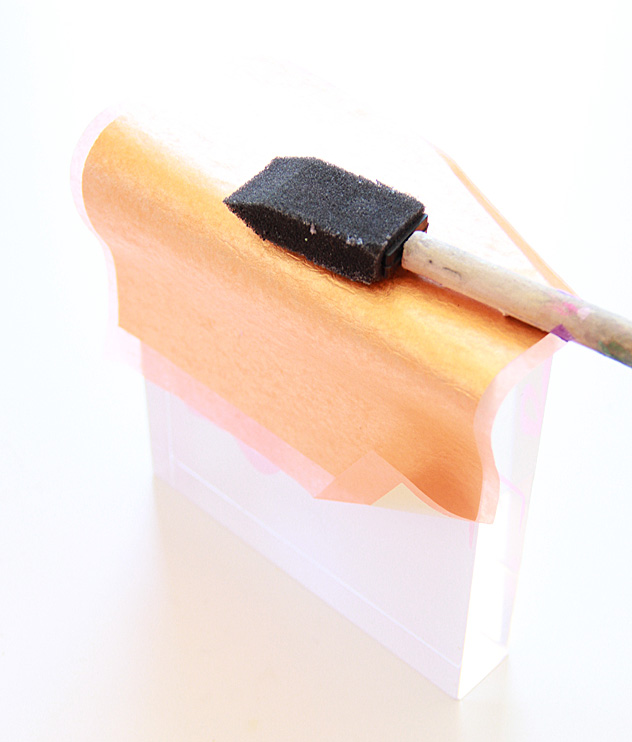
Remove sheet and you are done!
To glitter the side of your frames, brush mod podge onto frame edges. Apply glitter immediately (no waiting like the gold leaf) Shake off excess glitter and using a clean brush you can brush away any glitter that fell on non-mod podged part of frame.
To keep glitter from shedding (important in a nursery!) Finish the glitter sides using Clear Gloss Enamel Spray (found in spray paint department).
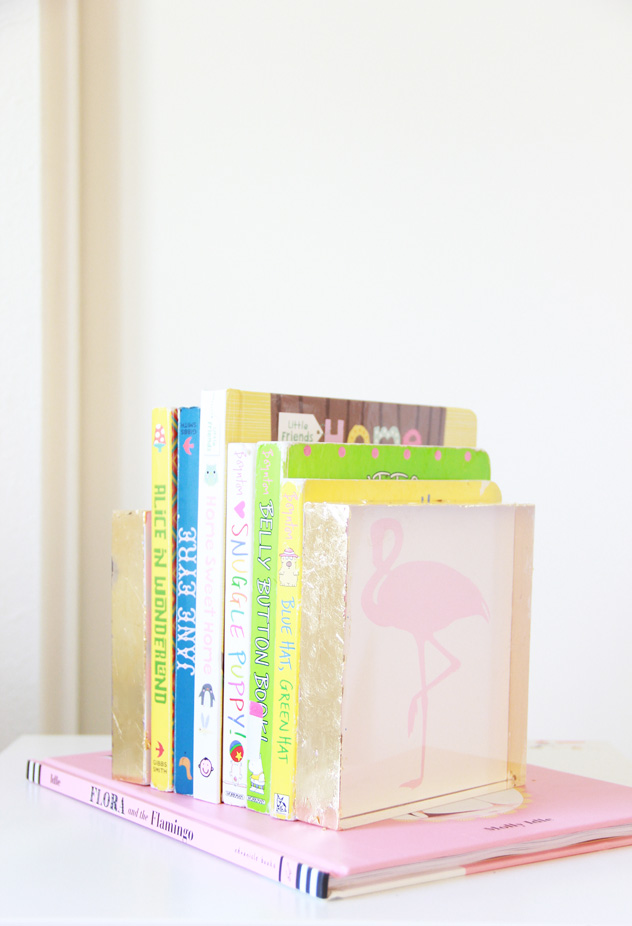
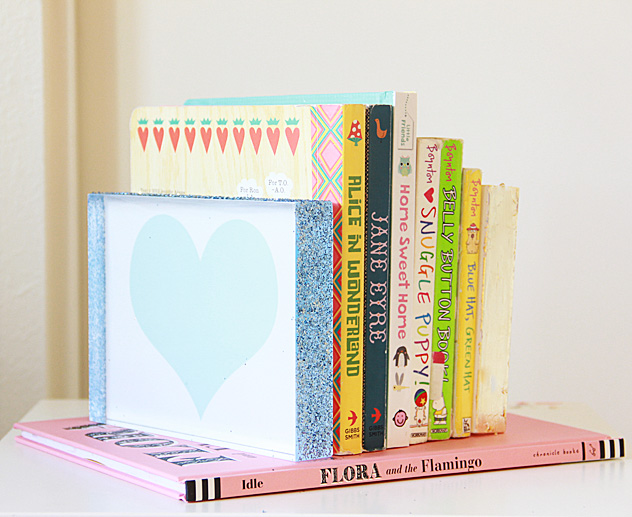
Colette’s nursery is pink and aqua themed- I chose a pink flamingo and an aqua blue heart for two of the acrylic blocks. The acrylic blocks work great as bookends.

And here they are not in use as bookends- adorable!

Also, I did not forget Colette’s birth date, I used the date of my best friend’s baby to surprise her with a gift!
I love the girl’s baby pictures in the acrylic blocks and want to keep them in nursery, but my husband will take them to his office, he almost took them before I was able to take these photos! He likes them so much better than a regular picture frame (and now I know how to do all his future gifts…)
So, there is a little glimpse of our nursery- the chair is Kalia’s- her very own rocking chair in the room for those long days in the beginning of frequent nursing her sister. I wanted Colette’s nursery to be a fun place for Kalia to hang out in as well! The books are some of her favorites too- Blue Hat, Green Hat- I love that book!
Post sponsored by Shutterfly- ALL opinions are my own, thank you for supporting sponsors that make A Bubbly Life possible!


[…] This project sort of matches the previous one, as this one is also very cute and soft and pastel colored. These bookends are perfect for a baby’s nursery or in a little girls room with the heart and flamingo print, but you can change it for something more boy-ish to put in your little man’s room! […]